
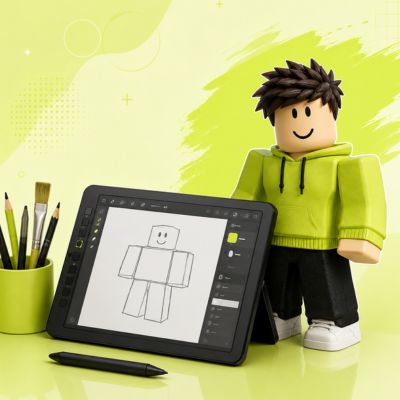
Quick answer: A Roblox character is built from simple block shapes. Draw a square head, a rectangle for the torso, and four rectangles for the arms and legs. Add two oval eyes, a small curved mouth, and basic clothing lines. A simple Roblox character can be sketched in just a few basic shapes, making it a good beginner drawing project.
Roblox character drawing is easier than most tutorials make it look. The avatar’s whole look comes from a small handful of shapes, so once you understand the proportions, you can draw almost any version of it, from the classic blocky look to the newer rounded style seen in the avatar editor today.
What You Need to Draw a Roblox Character
You do not need special supplies to get started.
Both paths work well. Paper is faster to start with, and a screen gives you unlimited undos, which helps if you are still learning proportions.
Traditional vs Digital: Which Way to Draw a Roblox Character
| Factor | Traditional (Paper) | Digital (App) |
|---|---|---|
| Cost | A pencil and paper | Free apps, no cost to start |
| Fixing mistakes | Eraser only | Unlimited undo |
| Coloring | Colored pencils or markers | Instant fill and layers |
| Best for | Beginners and quick sketches | Sharing online or adding detail |
| Learning curve | None, start right away | A short app learning curve |
If you are new to drawing, start on paper. Once you feel comfortable with the shapes, moving to an app makes coloring and sharing much faster.
Drawing a Roblox Character Step by Step
Roblox characters come in two main body styles. The classic blocky style is based on the original R6 rig, built from a square head and straight rectangle limbs with no joints. The modern style is based on R15, which breaks the body into more segments so the character can bend and pose. This tutorial builds the classic style first, since it uses the fewest shapes, then shows where to adjust each step if you want a more modern look instead.
Step 1: Sketch the Head
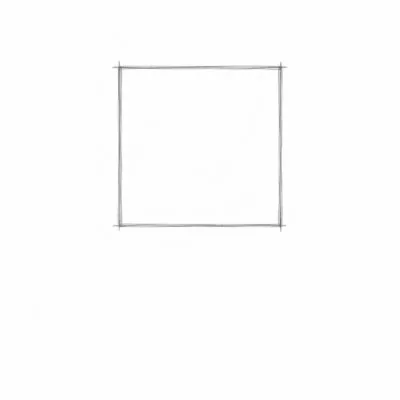
Draw a square in the upper third of your page. For the classic blocky style, keep every corner sharp. If you want to lean toward the modern R15 look instead, round the corners slightly. Either way, leave your lines light so you can adjust them later.
Step 2: Draw the Torso
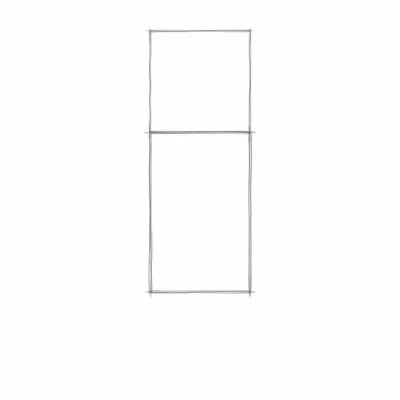
Use the head as your measuring unit for everything else you draw. Directly below the head, draw a rectangle for the torso that is roughly one and a half head heights tall and about as wide as the head. Thinking in head units rather than exact measurements makes the proportions easy to repeat no matter what size you are drawing at.
Step 3: Add the Arms and Legs
Use the head as your measuring unit for everything else you draw. Directly below the head, draw a rectangle for the torso that is roughly one and a half head heights tall and about as wide as the head. Thinking in head units rather than exact measurements makes the proportions easy to repeat no matter what size you are drawing at.
Classic R6 style:
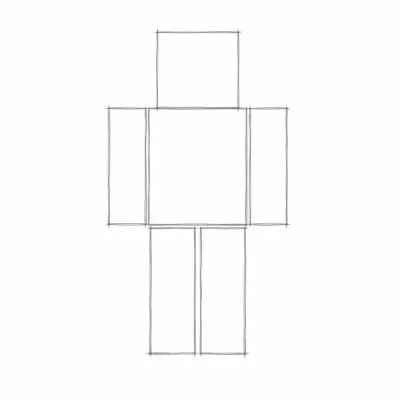
This is the original Roblox rig, and it is the easiest style to draw since every limb is one straight block.
Modern R15 style:
If you are just starting out, draw the R6 style limbs first, since they are only straight rectangles. Once that feels comfortable, add a joint break at the elbow and knee to move toward the R15 look.
Step 4: Draw the Face
Add two oval eyes in the upper half of the head, spaced evenly apart. Draw a short curved line underneath for the mouth. You can leave the face this simple, or add eyebrows, glasses, or a beard to match a specific look.
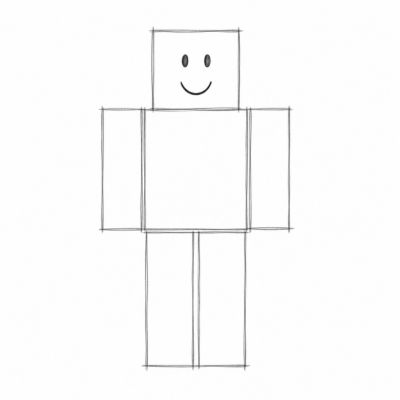
Step 5: Add Clothing and Accessories
Draw a horizontal line across the torso to mark a shirt, then a second line lower down for pants. Add a hat, hair, or backpack shape on top of the head if you want to copy a specific avatar. This is also where you can sketch in the type of accessories now available through the avatar editor’s item catalog, referenced in Roblox’s own avatar documentation.
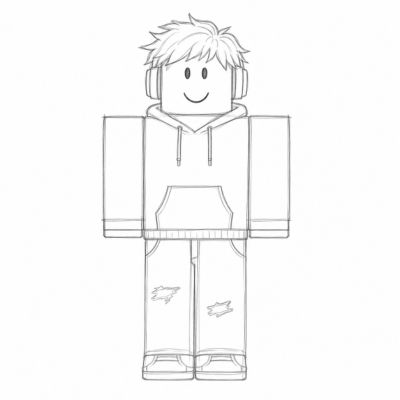
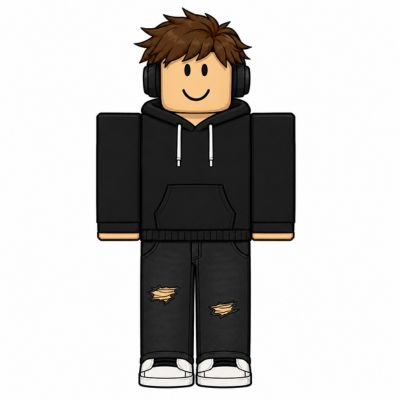
Step 6: Ink and Color Your Character
Trace over your final pencil lines with a black marker or fine liner, then erase the pencil marks underneath. Fill in the color last, working from light shades to dark ones so the colors stay clean.
Easy Roblox Character Drawing for Beginners
This is an intentionally simplified method for anyone drawing their first Roblox character, or drawing alongside a younger artist. It skips joints, clothing lines, and shading, and focuses on the six shapes that make the character recognizable.
This simple method works well for a quick sketch, a classroom activity, or a first attempt at drawing for beginners. Once it feels easy, go back to the full step-by-step method above and add clothing, joints, and shading.
Common Mistakes When Drawing a Roblox Character
Making the head too small.
Roblox heads are large compared to the body. If your head looks too small, the character will not read as a Roblox avatar.
Uneven arm and leg lengths.
Measure both sides against each other before inking. A ruler helps a lot here, even for a blocky style.
Skipping the light sketch step.
Going straight to ink often leads to lines you cannot fix. Always sketch first in light pencil.
Overcomplicating the face.
Roblox faces are simple by design. Two eyes and a mouth are often enough.
Related Roblox Guides
If your drawing is inspired by your own avatar, a few other settings affect how that avatar looks and behaves.
Want to update your account details before customizing your look further? See our guide on how to change your age on Roblox.
Trying to load Roblox to check your avatar for reference and the game will not open? Check the Roblox server status page first.
Turning your character design into something wearable in game? Learn how to make a game pass to sell your own creations.
New to the platform or setting up on a new device? Visit our Roblox home and download page for setup details.
Sources
Roblox Creator Hub, Avatar documentation: https://create.roblox.com/docs/avatar
Roblox Creator Hub, Layered clothing specifications: https://create.roblox.com/docs/resources/beyond-the-dark/layered-clothing
Roblox Support, Account and avatar help center: https://en.help.roblox.com